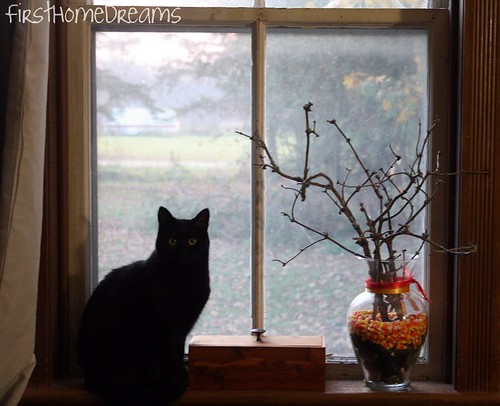
In our little corner of Blog World, things don't happen all that quickly. We both work full time at jobs that keep us out of the house, and even small projects often have to be spread out over a couple of days in order to be finished. But to quote Sherry from
Young House Love, "One of the challenges with sharing stuff on a blog is that unlike a makeover show, it takes months and even years to get to the after!" And while this photo gallery wall isn't taking months or years, it's taking more time than it probably should based on the level of difficulty.
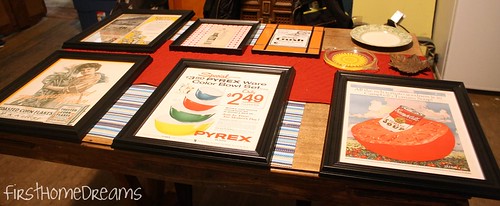
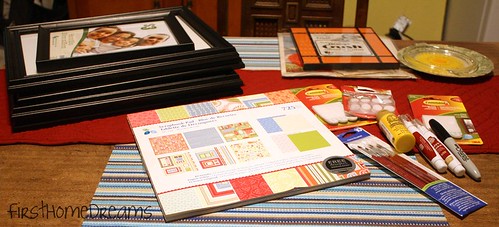
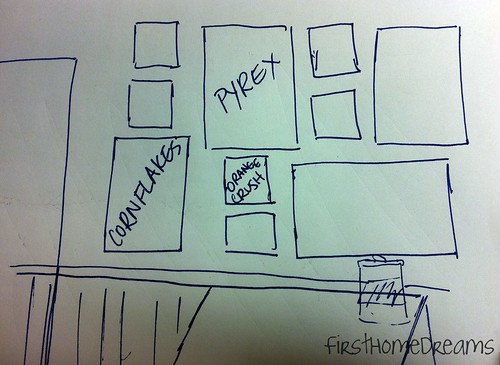
I finally got around to putting the ads in their frames, and moving them all around on the table top until I found a layout that I liked.
But after much switching and swapping, I just couldn't get it right. The space was too big, and I didn't have enough stuff.
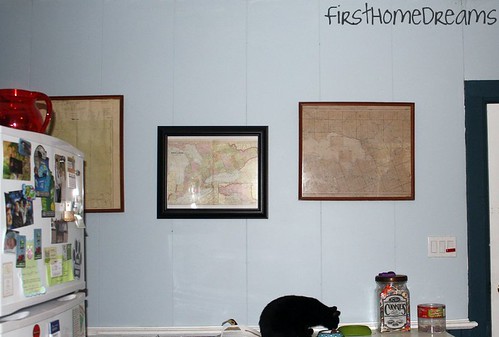
So I revised my plan. Remember these maps?
I decided to keep them in the kitchen, and involve them in the gallery wall.
They might not stay, because Mike doesn't think they "go" with the rest of the kitchen theme. He's right. But shhhh.
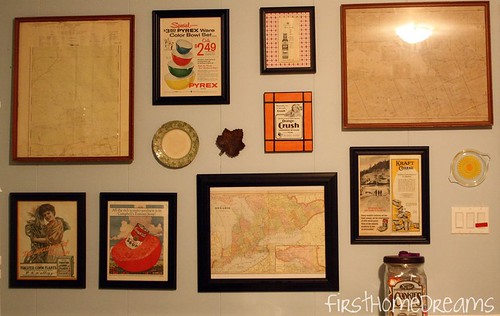
It makes me really, really happy! Let's take a look piece by piece at the things you haven't seen.
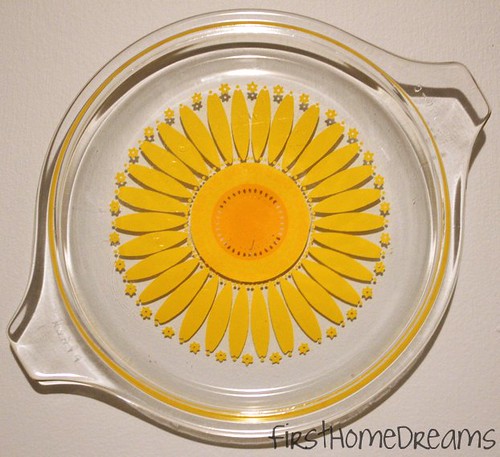
I'm a newbie Pyrex collector (and a contributor over at the Pyrex Collective II), although I typically use all of the pieces I own. This little lid is so faded on the back, so much so that I would never use it. But for 99 cents at Goodwill, I couldn't leave it there! The pattern is known as Daisy.
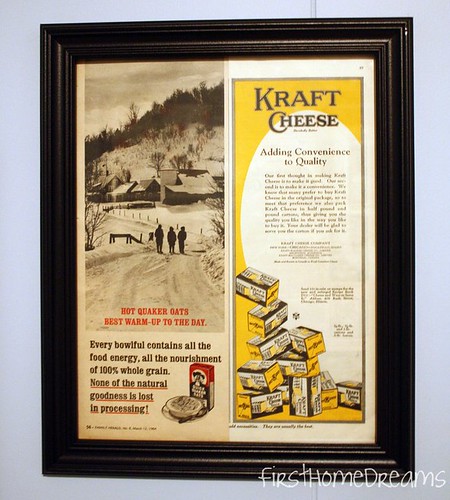
Quaker Oats and Kraft Cheese, both delicious! The Quaker ad is from 1964, while the Kraft ad is from the 1930s.
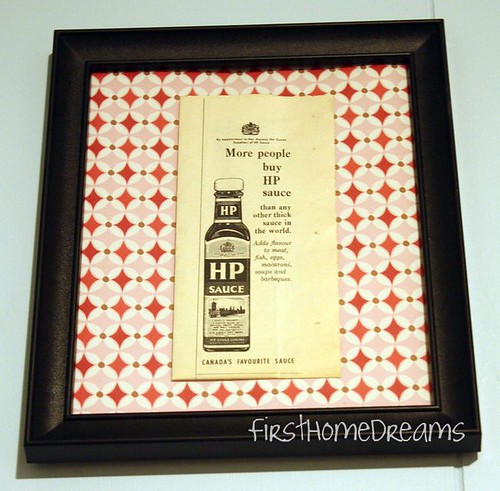
This little HP Sauce ad is from 1964.
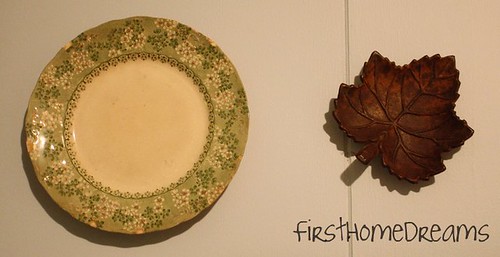
The plate on the left was given to me by Mike's mom, and it dates to the 1880s, the same era our house was built. The maple leaf was given to me by my mom, and is made of cast iron. It's heavy!
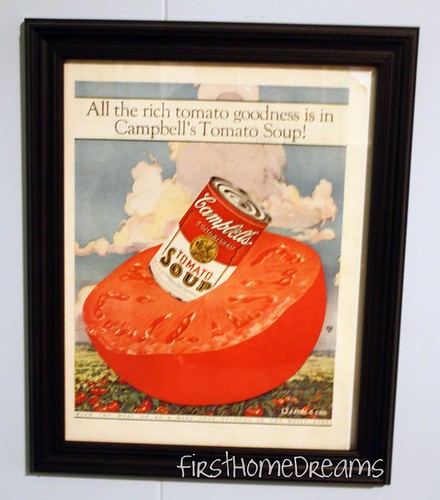
Grilled cheese (made with Kraft?!) and tomato soup, anyone? From 1938.
I'm glad that's done in time for the weekend. Because it's the weekend before Halloween, we have a couple things on our social agenda, and I also have a couple little crafty projects I'd like to work on, which I'll hopefully be sharing with you next week!
Enjoy your weekend!
I linked up to...


