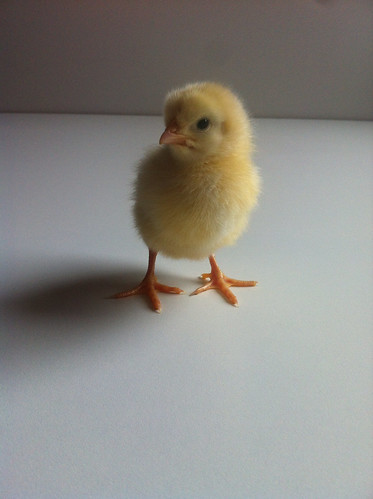
Today was the last good day for my chickens.
I say "good day" because tomorrow is actually their last day, but good probably isn't how you'd describe it.
Early morning wake up, put into a crate, transported for a couple of hours, unloaded into a holding area, dead.
The chickens are going to be processed into whole birds, to eventually become soup, stock, or some version of a pot pie. Don't get me wrong, I have really, really enjoyed having chickens. They are weird and they make me laugh and I like watching them scratch around the yard. Their lay rate is still pretty damn good, but winter is coming. Imagine a Game of Thrones meme here. These are not cold-hardy birds. Their cartoon-esque combs got frostbitten last winter, and I'm still not over the guilt of it. So, away they go.
Will I be sad? Yes.
But their purpose was always to be food animals, not pets. First as providers of eggs, and then as stewing hens.
Although I'm not a farmer, and chickens definitely aren't cows, I really like this post by Modern Milkmaid. It's helping me not to feel like a completely insane person for the feelings that I'm feeling.
http://modernmilkmaid.ca/2015/04/its-never-just-a-cow/
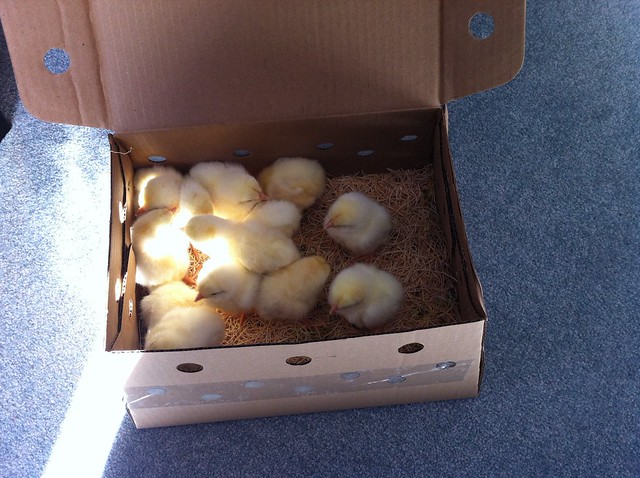
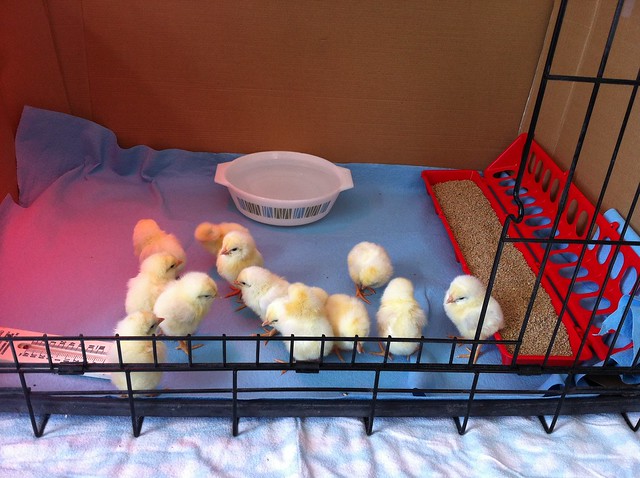
Next spring will bring new day old chicks. I've already got my heart set on breeds that are better suited to cold temperatures. And I've got some coop plans in mind, too.