When my boyfriend and I purchased our century home just over a year ago, one of the items at the top of our mile long to-do list was to replace all of the original wood and wavy glass windows. Big expensive projects have a way of worming their way down to-do lists, and in this case, I'm thankful! It's given us a chance to research old homes and embrace the "technology" of days past. But, do they ever need some work...
Believe it or not, a properly restored single pane wood window, combined with a properly fitted storm window and weatherstripping, can be just as energy efficient as the average replacement vinyl window. If you happen to live in an old house, restoring your existing wood windows is an opportunity to keep material out of the landfill and gives you a chance to learn more hands on skills, while maintaining the character and historical integrity of your home. And the best part? If you do it yourself, you'll save money!
What you need:
Heat gun or chemical paint stripper
Steam producing machine
Easy to wield chisel
5-in-1 scraper tool
Needle nose pliers
50 grit, 80 grit, and 120 grit sandpaper (sanding sponges are also great)
Electric sander (not absolutely necessary, just speeds up the process)
Wood filler and/or wood epoxy
Oil based exterior primer
Latex (or alternative) gloves
Glazing putty
Glazing tool
Glazing points
Exterior paint in a colour of your choice (latex or oil based)
Painter's tape
What you need to do:
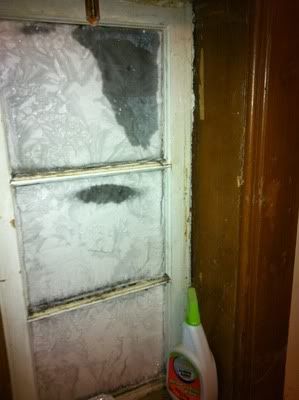
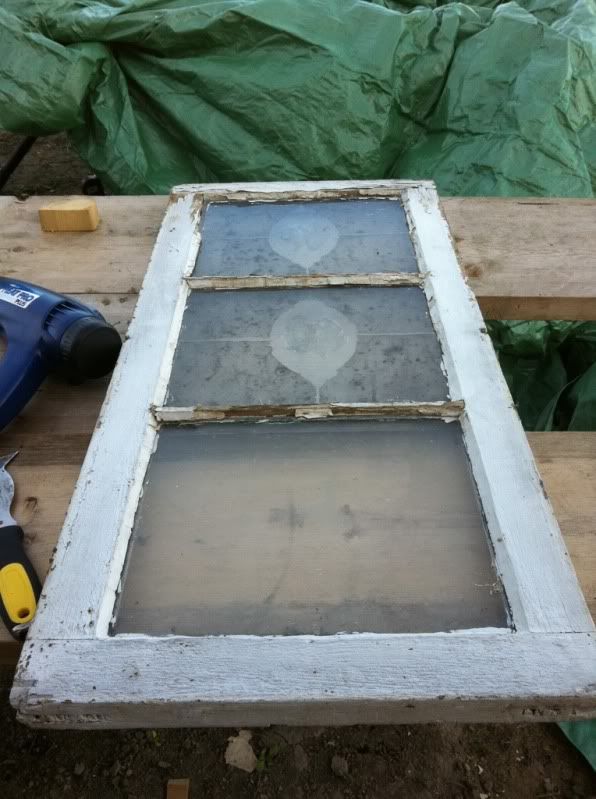
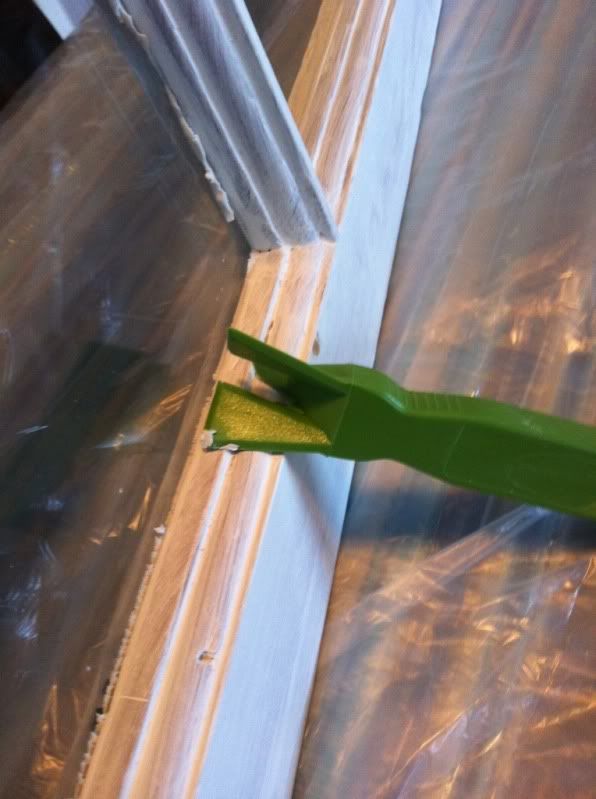
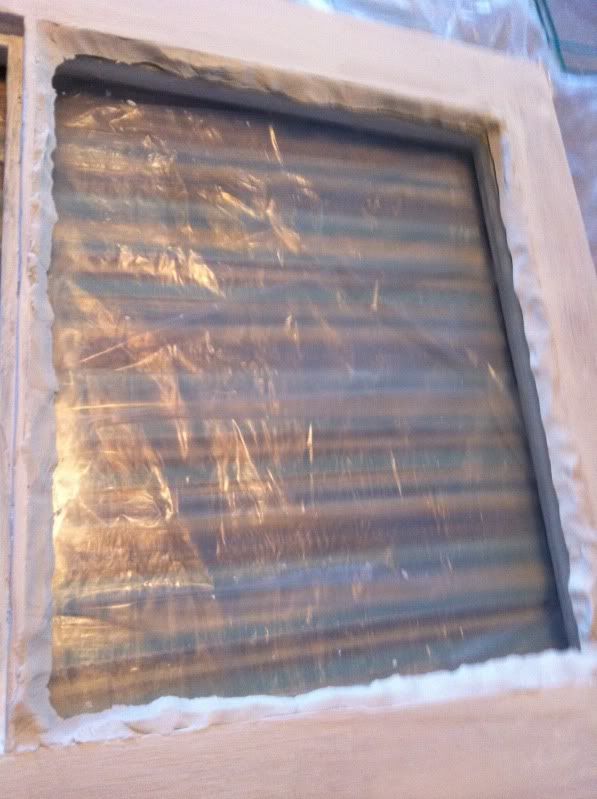
1. Carefully remove the glass from the window sash. Do this by softening the old glazing putty with the steamer. Do NOT use the heat gun! The glass will crack from heat stress. Use the wood chisel to gently scrape away the softened putty (I found the sharp edges of the chisel to be more efficient than the scraper tool). In some places, you may feel resistance. You may have come across a glazing point. These little things help provide strength for keeping the glass in place. Clear putty away from the glazing point. Gently slide the chisel between the glass and the glazing point, and bend the point up. With your needle nose pliers, grasp the point and pull out from the wood. Continue until you have removed all of the putty and glazing points. Your glass pane should lift out with minimal pressure applied to the back.

Cracked glass from using the heat gun. Chunks of old glazing putty being removed.
Glass removed.
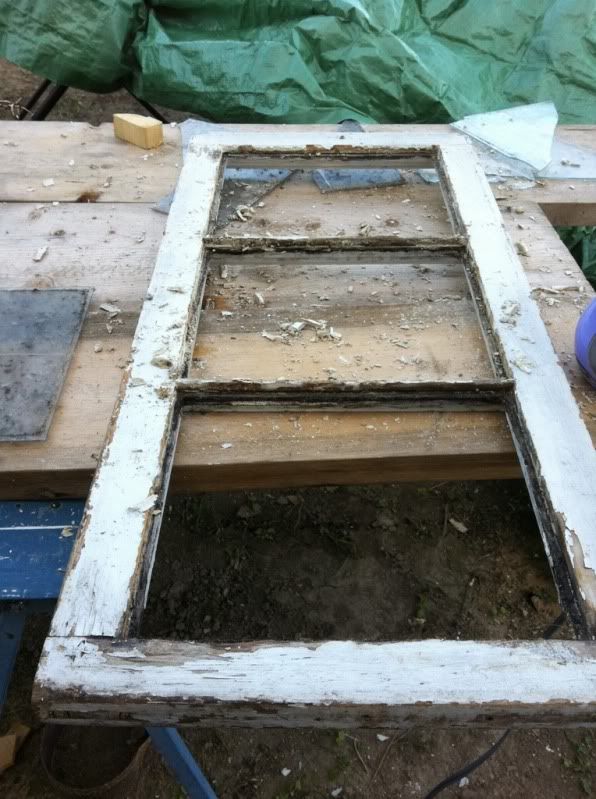
2. Remove old paint from the window sash. Work in a well ventilated area and wear a filtered mask. Depending on the age of the window, you might need to check for lead content in the existing paint and handle accordingly. Either a heat gun or a chemical stripper, in addition to the man power of a scraper tool, will make quick work of this step. This task can be tedious - you'll be surprised how much paint has layered up and completely hidden the details of the trim. Ensure to clean up thoroughly and discard any paint chips or chemical residue.
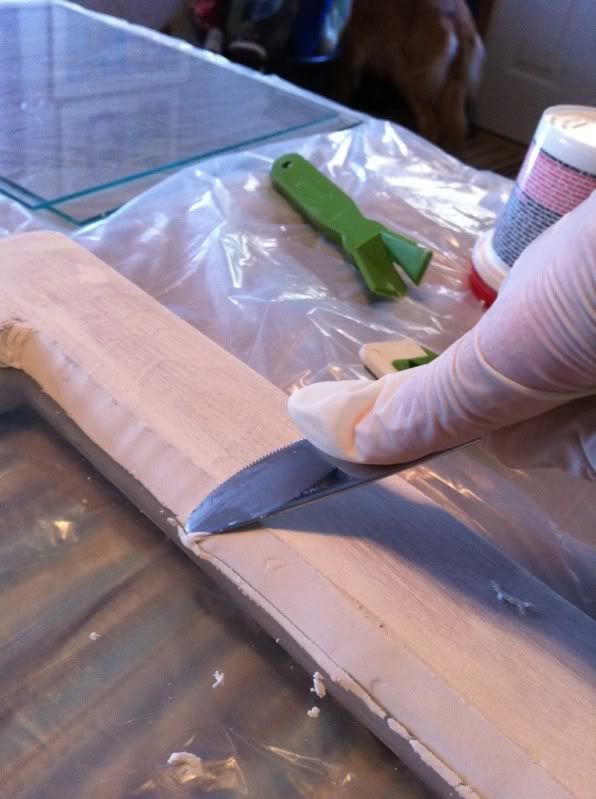
3. If your old window hasn't seen any maintenance in a long time, you may have wood that appears quite weathered. Sand all surfaces with very course grit sandpaper. Repair any gouges or holes with wood putty or wood epoxy. Allow to dry and/or cure, and then sand with a medium grit sandpaper. Finally, sand with fine grit sandpaper for a nice smooth surface. Sanding sponges work great for trim details.
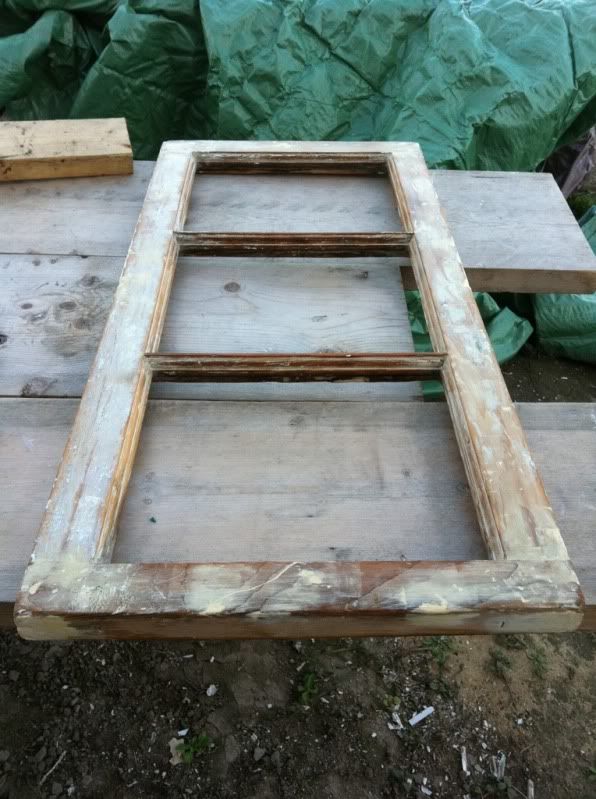
Scraped, sanded, and puttied.
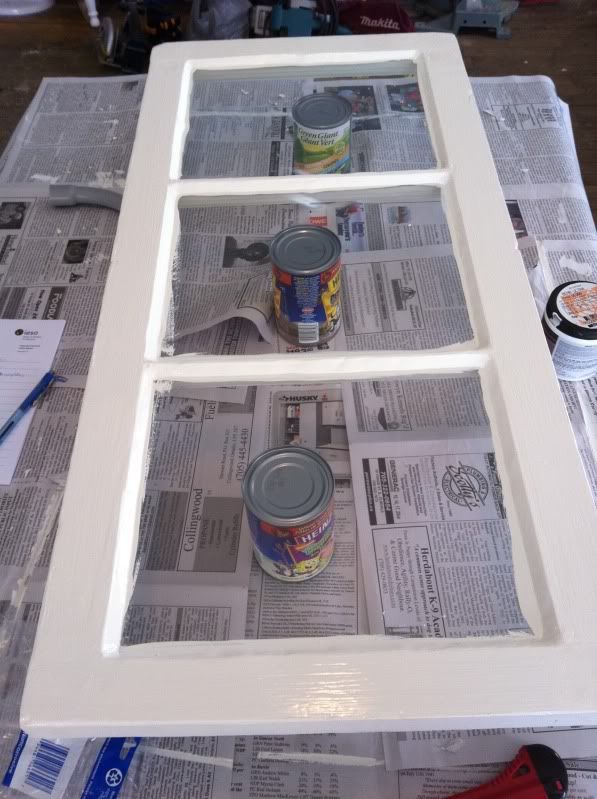
4. Prime your sash with a good quality oil based exterior grade primer. Look for a quick drying primer, rather than a penetrating primer, to keep this step short.
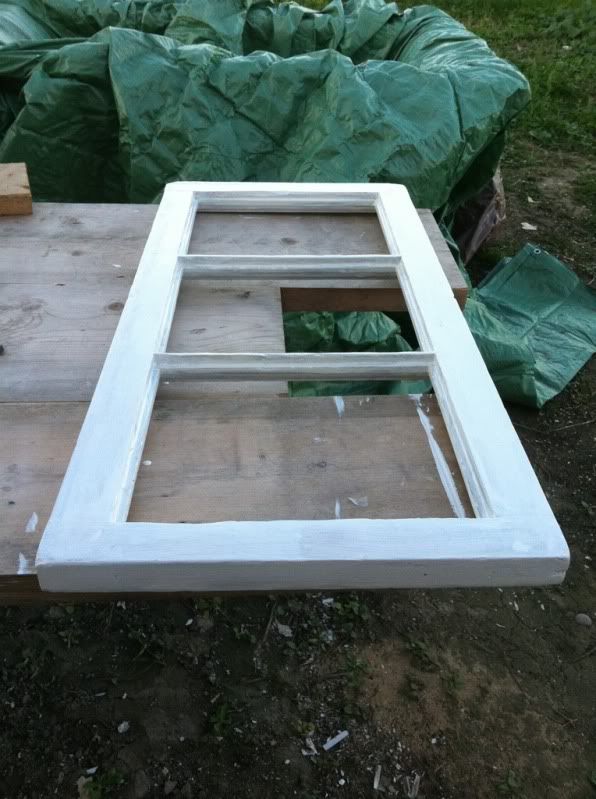
Primed.
Once your primer has dried, you're ready to re-install your glass. If you managed to remove all of your glass without any breakage, congratulations! If you didn't, don't worry. Clear glass can be custom cut for a very reasonable price. If you would prefer to keep the historical look of wavy glass, keep your eyes peeled in antique stores and salvage yards. Many glass places will cut customer owned glass for a fee.
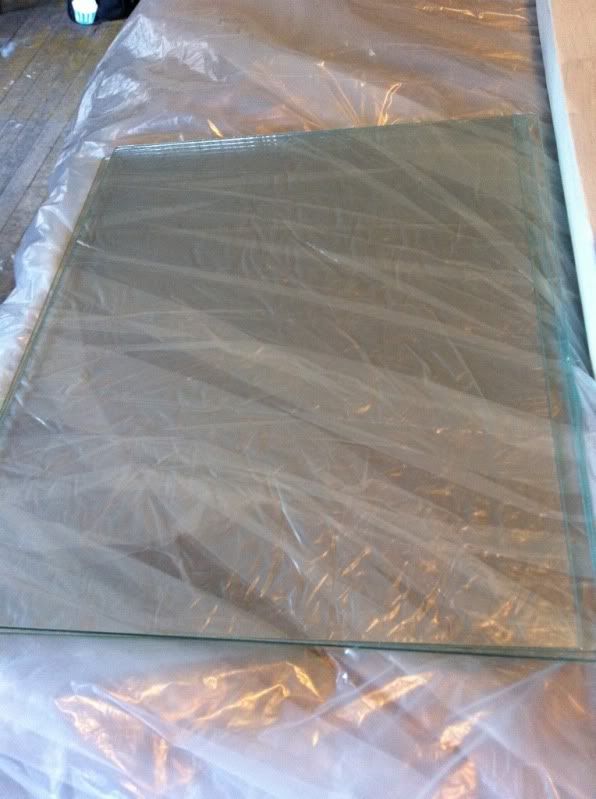
New glass.
5. Before installing your glass with new putty, set up a workspace where everything you need will be within easy reach.
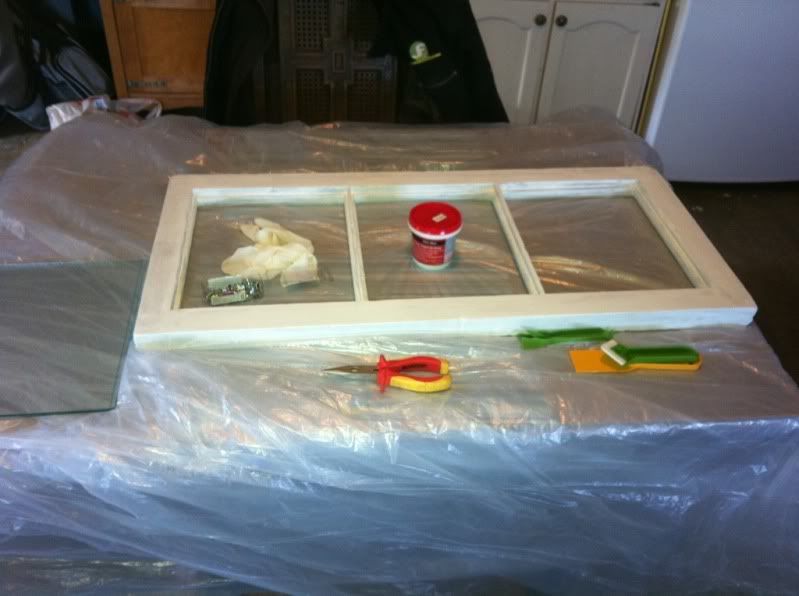
Accessible materials.
Wearing your gloves, take a handful of glazing putty and warm it in your hands. Create a bed of putty to lay your glass on. This keeps water from making its way between the glass and the wood, which would lead to premature failure of your restoration.
More is better. It's easier to scrape away excess than try to fill in gaps.
Press your glass firmly, but gently, into place. Excess glazing putty will squeeze out the other side - that's okay! Leave it for now.

Glass in place.
6. Now, replace your glazing points. You can reuse the old glazing points, but new ones are preferred. With your needle nose pliers, grasp the non-pointed end of the glazing point. Firmly press the point into the wood, and wiggle back and forth to penetrate. The number and positioning of your glazing points will depend on the size of your glass. For small panes of glass, one centrally placed point on each side is sufficient.

Installing a glazing point.
At this point, your glass is secure enough to be able to turn the sash over and trim away any excess glazing putty that snuck out the side after pressing your glass into place.
Pictured is a caulk removing tool, but anything with a well defined edge (like an exacto knife) will do this job.
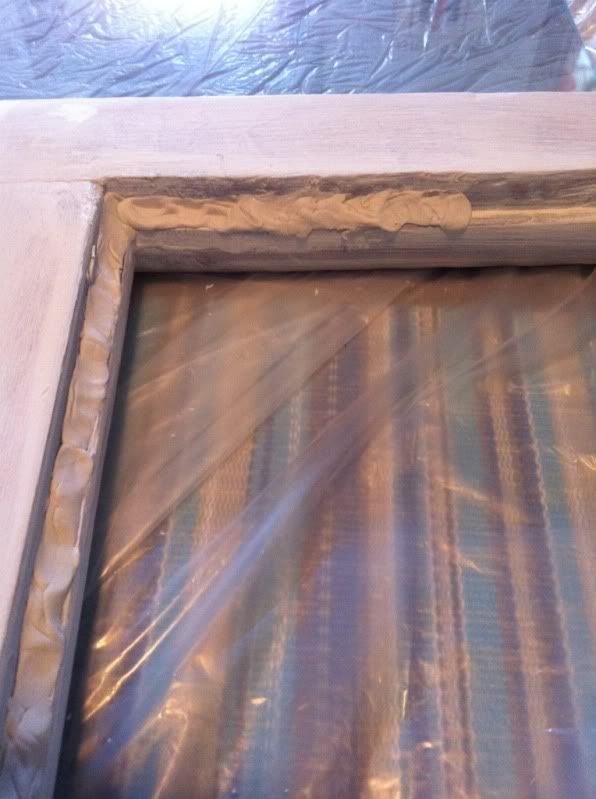
7. Secure your glazing points by applying putty over them. You can either mush lumps of glazing putty into the L-shape created by the wood sash and glass, or you can shape your putty into a "snake" and then mush it in to ensure that there are no gaps.
Smooth your putty using your glazing tool. You want the glazing putty to sit at an angle, to shed water. Your corners should be concave. Any creases may result in water infiltration.
8. When all of your glass has been installed, allow your glazing putty to cure according to the specifications indicated on the packaging. Set time varies tremendously between brands of putty.
9. If required by the specifications of your glazing putty, apply a second coat of oil based primer to both sides of your window sash. Overlap onto the glass, just enough to completely cover any exposed glazing putty. Use tape to keep your lines tidy.
You'll notice I didn't use tape. I'll get to that.
10. When your primer has dried, apply two coats of exterior paint (allowing sufficient dry time between coats). Ensure you are overlapping all primed glazing putty. When your paint has dried, remove the tape. If you have an aversion to using tape, because you can never get it lined up just right, score a line in the paint using something with a straight edge, and scrape away excess paint and primer using a razor blade or exacto knife.

And then...
You're done!
Cost breakdown for materials:
Glazing putty $4
Oil based exterior primer $15 (1 quart - enough to do at least half of our remaining 24 window sashes)
Glazing points $2 (for enough to do all 24 sashes in our house, with plenty left over)
Exterior latex paint $4 (for a sample sized pot)
Wood putty $6 (although I already had this on hand, and have lots left over)
Sandpaper and sanding sponges $10
New glass $12
For a grand total of $53. Which may seem like a lot - but when you consider that I have enough primer, glazing points, and wood putty to do many, many more windows, and that I won't need to replace glass in many of them, it's actually quite cost effective. Especially when compared to the cost of a custom sized vinyl replacement, which can run into the the $100s. Plus, a properly restored window, with regular maintenance like paint touch ups, can easily last 50 years or more.
And there's nothing like a little sweat equity to maintain the beauty of your home.