So what does a crock pot and steel wool have to do with, well, anything?
Restoring antique hardware!
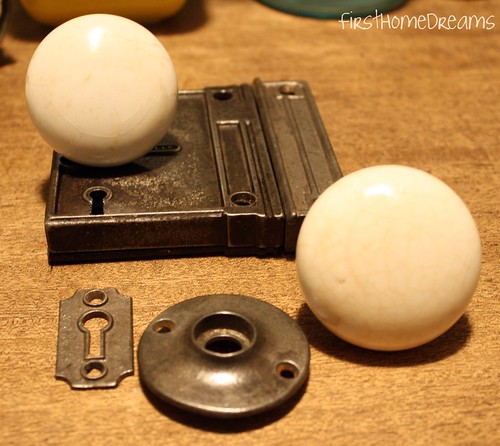
The bathroom door is a solid wood 4 panel door typical of Victorian homes. These doors would either have a mortised lock or a rim lock - it's not very often that a door was fitted with just a knob. Our door is covered in layers and layers of paint, but we could see the shadow of where a rim lock used to be, and the keeper was still attached to the jamb. Whatever happened to the original rim lock? Who knows.


There was another keeper hanging out in a door-less door frame on the other side of the kitchen (I suspect that the bathroom was originally a pantry *note to self: share a floor plan one day* - apparently back in the day people felt the need to be able to lock their kitchens and their pantries off from the rest of the house). We found the missing door in the shack before it collapsed, and it still had it's rim lock - hooray! We have no intention of putting that door back in it's place (it's weathered and cracked beyond repair), so I removed the rim lock for the bathroom door.
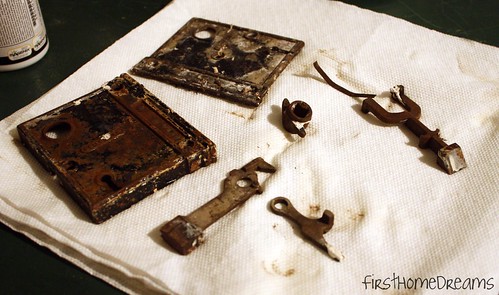
It was a hot mess, and that's being polite.
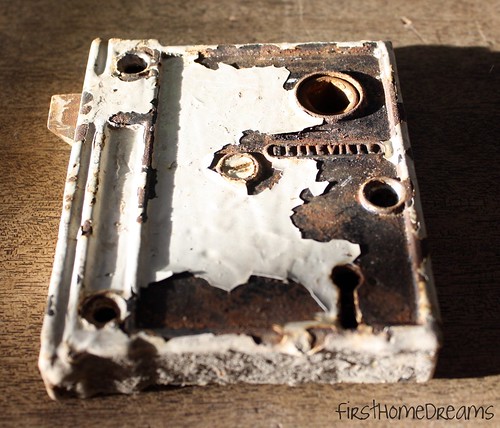
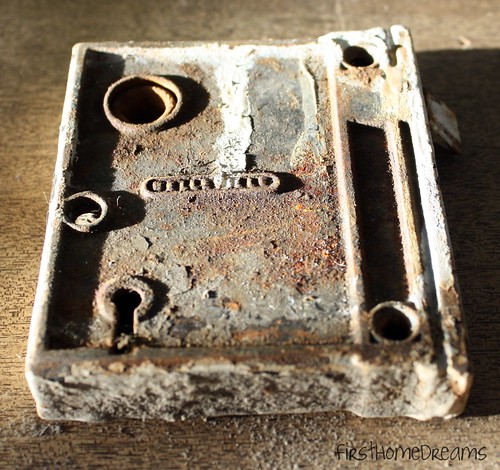
The first thing I had to do to get this back in working order was to take it apart. Since it had been caked in paint in a previous life, I used a dental pick type tool to scrape the paint out of the screwdriver notch (what's the real term for that?!).

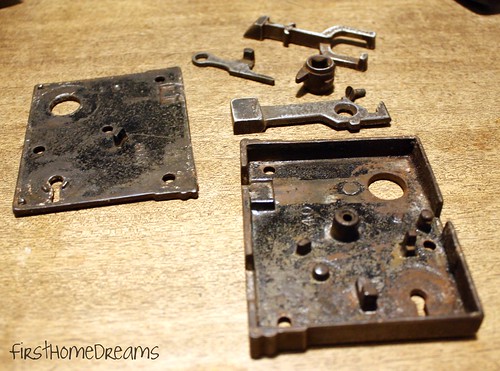
I removed the screw - making sure I put it somewhere safe! - and the back came off easily.

It was pretty gross in there. I have a feeling this thing hadn't been cleaned more than a handful of times.
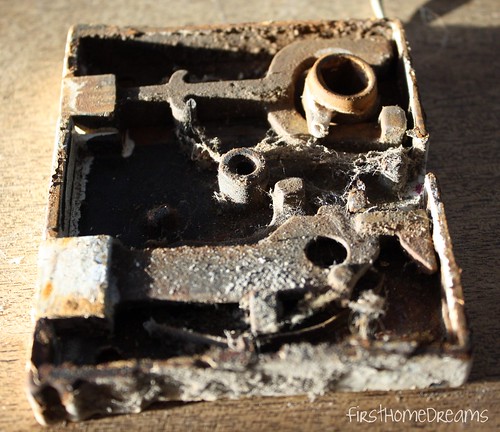
Before going any further, I took a million pictures before and in between removing each of the individual parts (there were 5 total pieces inside the casing). Once everything was removed, I was ready to move on to the cooking.
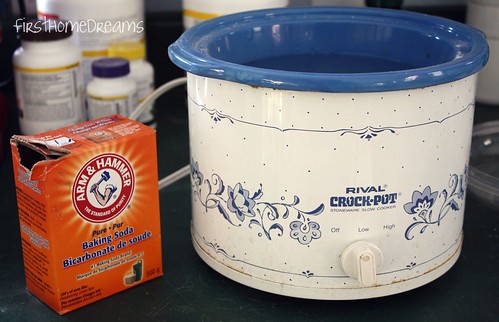
Crock pot, water, baking soda, hardware. Cook on low for a whole bunch of hours. I don't have a set time - it depends on how paint caked the hardware is. I've also had good luck using TSP instead of baking soda, and I've heard of people using dish soap with good results as well. So you can pretty much use whatever you have on hand. The water will turn really murky and gross as it cooks. I think it goes without saying that you should use an old crock pot that you will not be cooking food in.
A lot of old cast iron hardware has a powder like coat of black paint that is really hard to remove. Although I let these pieces cook for a lot of hours, I wasn't happy with how clean they were coming, so I decided to let them have a good soak in a chemical stripper. After allowing the chemicals to do their magic, I was rinsing/washing, scrubbing clean with steel wool, rinsing/washing, patting dry. This is an incredibly tedious and dirty process. I paid more attention to the moving parts and the sides of the casing that will be seen, rather than the inside (you can see evidence of that below).
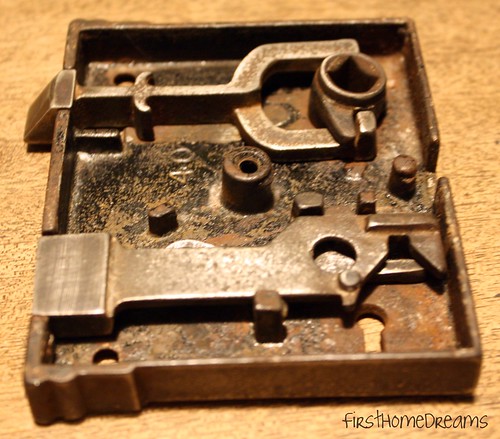
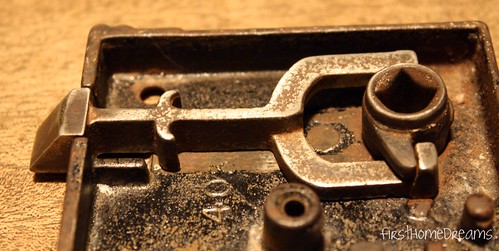
At this point, I stared at and fiddled with this darn thing for probably 20 minutes trying to make it work, until I realized I was missing the mechanism to make the latch spring back into place. It's also missing a similar mechanism for the lock, but since we don't have the key anyway, I'm not concerned with making that functional. I found the piece I had forgot about (the skinny straight piece of metal), and positioned it so that when the doorknob wasn't being turned, it would force the latch back out. The final step before putting the cover back on was to liberally apply some WD40 to keep things moving smooth.

All of that to get to this:

A 113 year old piece of hardware that still works! Although I'm not perfectly happy with it yet. All of the pieces, including those on the inside, need another once over with steel wool. Once any remaining specks of rust (and blackness on the case) are removed, everything is going to get a coat of poly to prevent any further rusting. Of course I'll have to clean all of that WD40 off of everything first, and then reapply it once the poly is dry. So many steps. Worth it? Heck yes.
Update! See this lock re-installed here.
I'm linking this post to...