Back in...April? The boyfriend and I went to an auction, and an old paint encrusted door caught my eye, but I was solely interested in the hardware. I am a total wimp, and don't do any bidding when we go to auctions, so I told the boyfriend that I'd pay $5. And then as I kept thinking about it, I said $15. And then I said I'd even go up to $25! This is what happens when you know what original antique hardware is worth.
When the auctioneer got around to the door, it was being sold as a lot with 2 other doors. He started the bidding at $2. And guess what? We got all three doors for $2. Apparently, farmers at an auction with loads of farm equipment have no interest in old doors.
Who knew?
Anyway, once getting the door home, I realized it had potential itself, not just for it's hardware. So I removed all of the hardware, and took out the removable window insert.
This is what it looked like then:
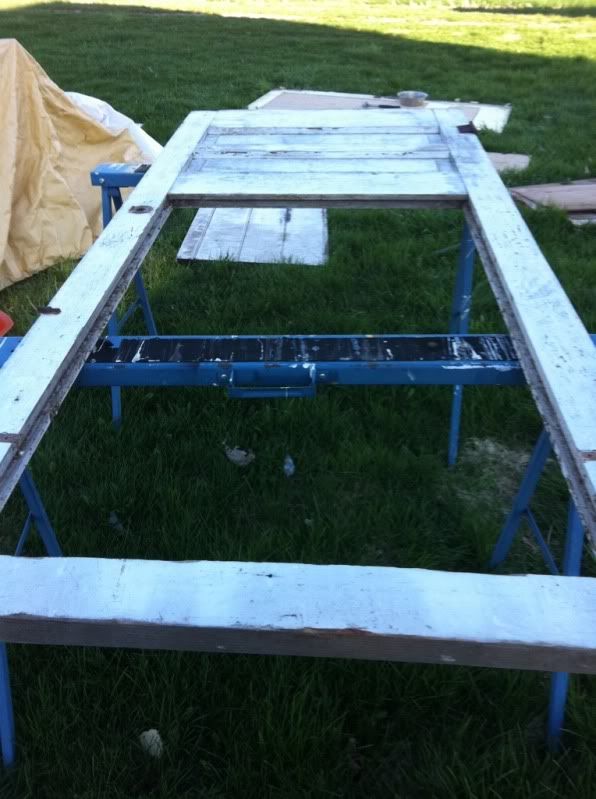
After some stripping with a heat gun, and a little bit of sanding with with a mouse sander* it looked like this...

Exterior Side
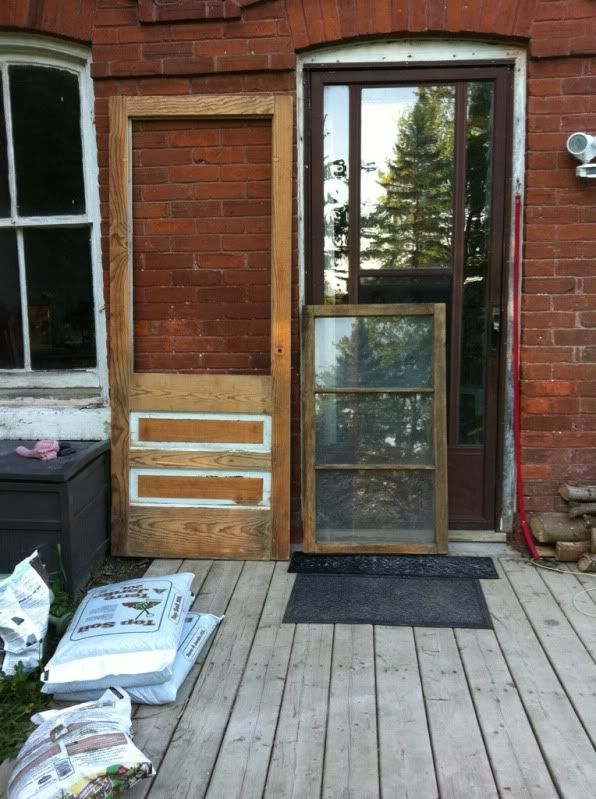
Interior Side
I wasn't feeling very good about getting the exterior side down to bare wood, at least to bare wood nice enough to stain!
*A mouse sander was NOT the appropriate sander for this job. I switched to a belt sander, and things went WAY faster.
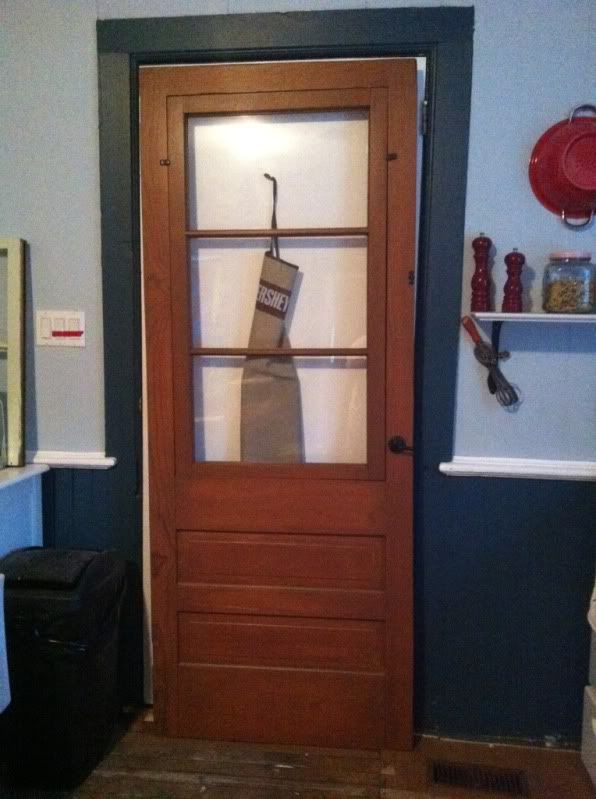
But, with perseverance, (too much) time, and (not nearly enough) patience, I was successful! After two coats of Behr's Premium Semi-Transparent Weatherproofing Wood Stain in Redwood Natural, it looks like THIS!
The original hardware was brass plated steel, but the brass was totally shot in most places. I prefer the look of oil rubbed bronze anyway, so it was Rustoleum to the rescue. I don't have a good shot of our hardware, but it's the original version of this reproduction:

Source: House of Antique Hardware
Ours is slightly different, as it has a nifty little locking mechanism on the lever side of the handle. We did purchase replacement hinges (which got a shot of Rustoleum to match), because I could not for the life of me get the original hinges moving again.
The lever looks like it's the wrong way to me, but the set screw for that is absolutely fused with rust, so it's not coming out. And because of the mechanism inside, you can't just turn it around. Oh well, I'll get used to it. Also, the set screw on the knob on the other side is haywire, and won't quite go in far enough so if you're not careful, the knob just turns. This can be dealt with later...
Seeing the end result is almost enough to make me forget how frustrating the process was, and makes me want to get started on my next project! Another door? Baseboards? We'll see.
Now to convince the boyfriend to hang this door today after work...